This easy to follow dog bed tutorial will have you making a comfy place for your favorite canine companion. Made with no-pill fleece, this dog bed takes under 30 minutes to make. It makes a wonderful gift for your pet or your friend’s pet.

There are many reasons to have a dog bed for your dog. It’s good for a dog to have a space to call it’s own. While I do love snuggling with our dog, Charlie, on the couch, he’s getting too big!

Spring on Cape Cod has been cold and wet. That means lots of muddy feet and soggy paws. I know that by using Scotchgard™ Fabric & Upholstery Protector on our white couch, we have invisible protection to repel liquids and block stains. We can live worry-free in our living room, no matter what life throws our way!

Having a white couch and a black dog (and a kid!) means I do have to wash the slipcovers regularly. By applying Scotchgard™ Fabric Protector every six months, our couch still looks like new. The strong protection pushes stains away from fabric fibers so stains release easily. Now I worry less about those soggy, dirty paws.
With our puppy growing so quickly, I knew that he needed a space to call his own while we’re relaxing and enjoying time together as a family. Making this dog bed took about 30 minutes and I know that it will be used often!
Supplies Needed to Make a Dog Bed
The first step with any sewing project is to gather your supplies. To make this dog bed, you’ll need fleece, coordinating thread, pillow stuffing, scissors, measuring tape and a sewing machine.
How to Make a Dog Bed
The size of your dog will depend on how large your dog bed needs to be. Our dog weighs about 80 pounds and he’s tall. He needs a large dog bed. I cut two pieces of fleece 42 X 28 inches.

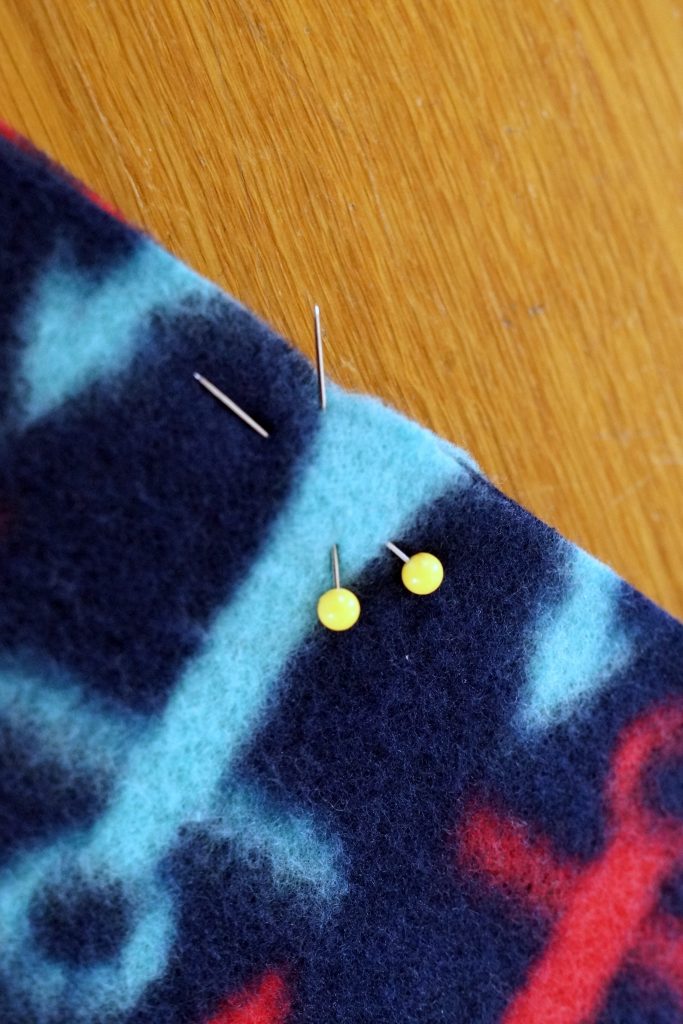
Place the two pieces of fleece together right sides together. Pin along all four sides leaving a four inch opening along one side. You’ll use the opening to reverse your fabric and to add the stuffing.
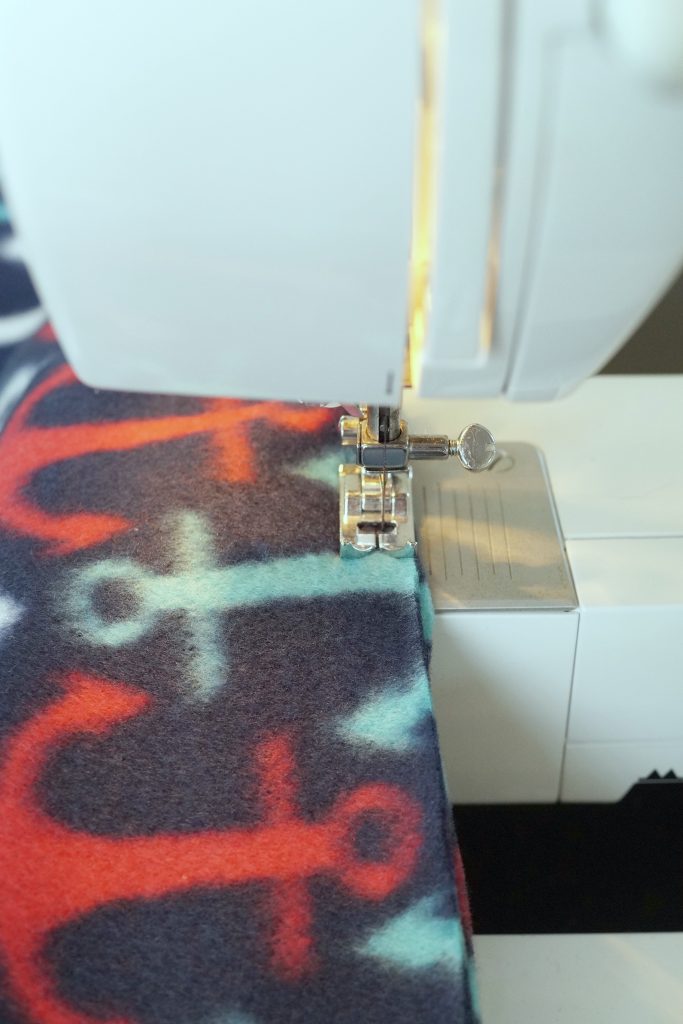
Stitch the two pieces of fabric together, leaving a 1/4 inch seam allowance. Need a reminder to leave the opening? Use my handy double-pin technique.
Before turing your fabric right so the right side is facing out, clip the corners ever so slightly.

Next, turn your fabric so the right side is facing out. Use a chopstick or corner tool to gently push the corners out. Be gentle, you don’t want to break your stitching!
We’re in the home strech now! Here’s the fun part: adding the stuffing! Stuff your dog bed from the corners working out. I find this helps to reduce the lumps, not that your dog will mind the lumps. Stuff the dog bed as full as you can, then stuff it just a bit more! You want your pup to be super comfy on the new dog bed! Then handstitch the opening closed.

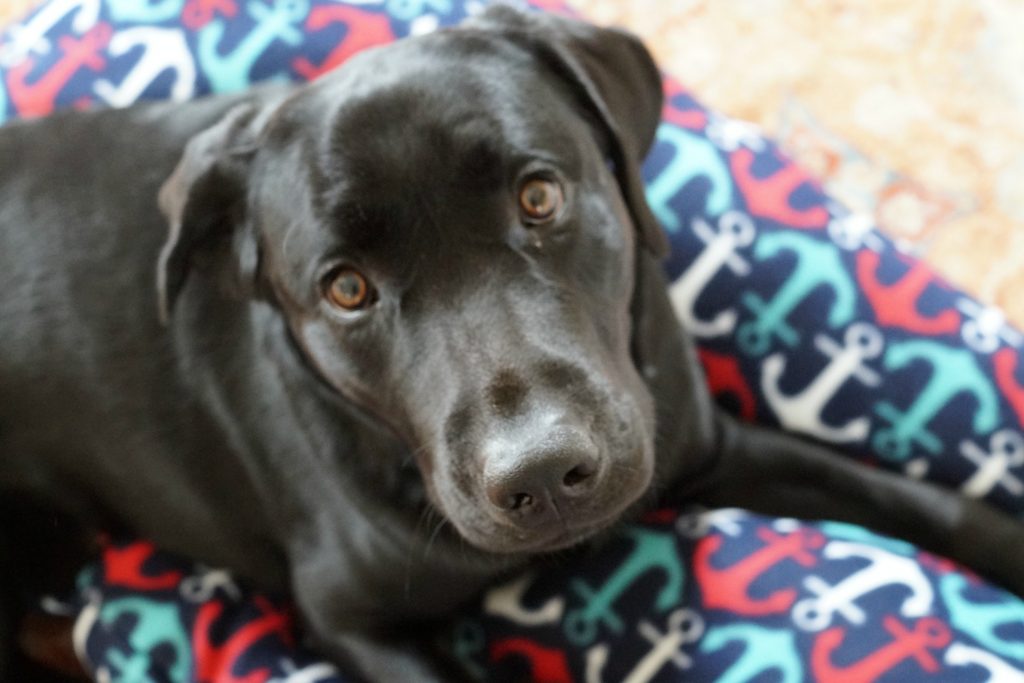
Call your pooch over and let them enjoy a snooze or two on their new dog bed.

While your pup relaxes, this gives you time to apply the Scotchgard Fabric Protector to your couch. The process is simple.

- Prepare: Protect surrounding non-fabric materials from overspray. If overspray occurs, quickly wipe it up.
- Shake: Shake can well.
- Test: Test for colorfastness. Spray hidden area until wet and wipe vigorously with a white absorbent cloth. If color rubs off, DO NOT USE.
- Spray: Hold can upright 6″ (15cm) from fabric surface. Overlap spray using a slow, sweeping motion. Two light coats are better than one heavy coating.
- Dry: Allow to dry between coats.
- Reapply: Reapply after every cleaning or annually to maintain protection. Durability of protection varies with wear
- Have to re-apply the product (seasonally or every 6 months). Every couple of months if product is frequently used.

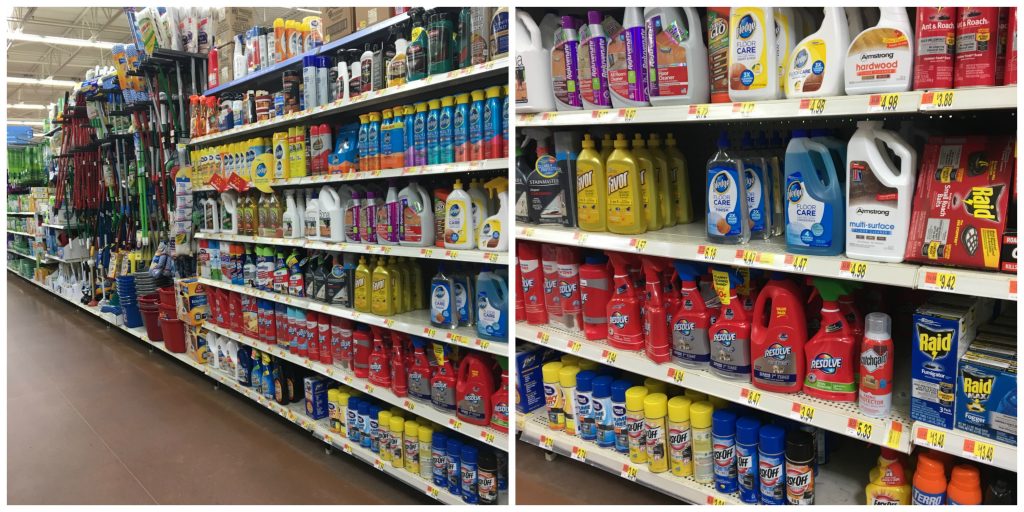
You can find Scotchgard Fabric Protector in the cleaning products aisle of your neighborhood Walmart.
Do you have a large dog in your home? How will you use Scotchgard Fabric Protector in your home? Leave me a comment below letting me know!


We don’t have a dog, but we do have a cat who sheds a lot! I love this cute bed that you made 🙂 #client